TABLE OF CONTENTS
Prerequisites
- MicroSD Card (8 GB or more)
- Computer (preferably Windows)
- Ethernet Cable (to connect to the Charger after update)
Preparing the MicroSD Card
Insert the MicroSD Card into the Computer
- Download and install an open-source burner balenaEtcher (ending in ".Setup.exe" for Windows or choose suitable executable)
- Download the DC Charger Firmware file
- Extract the Firmware file from the ZIP archive. A file with the extension ".img" should be visible
- Run balenaEtcher and select Flash from file
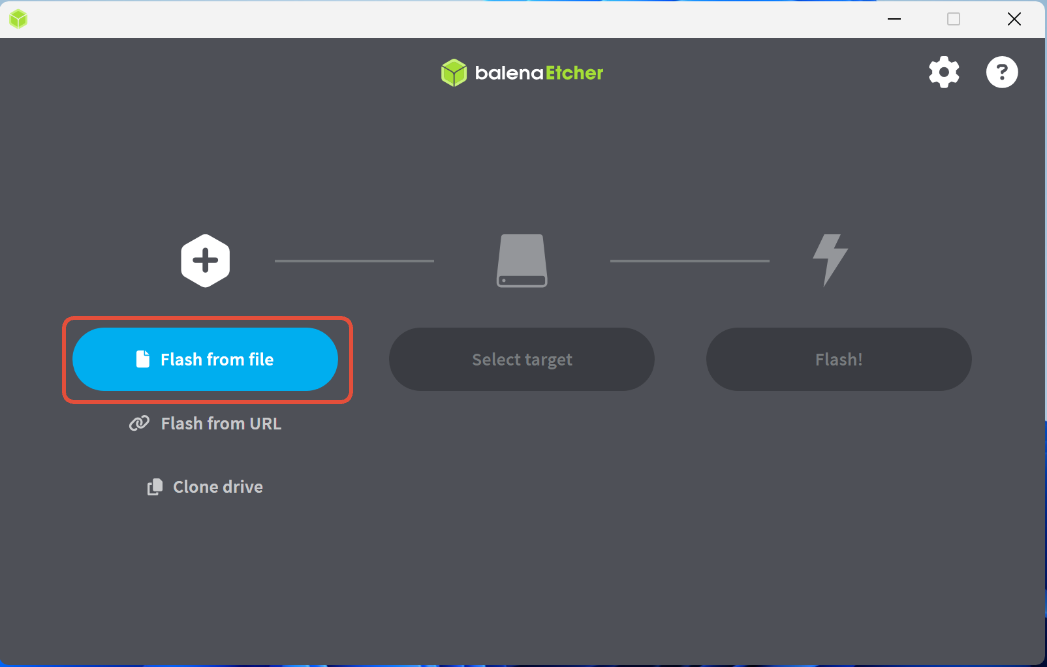
- Click "Select target" and choose the MicroSD Card inserted previously
- Click "Flash!"
- Wait for the process to complete (~2min)
Updating the Charger
Step 1: Locate the central control unit of the device
For 30 kW model:

For 60 kW model:

For 120/180 kW models:

Step 2: Turn the central control unit off
To turn the central control unit off, switch off the Q3 MCCB:

Step 3: Insert the Micro SD card into the central control unit
Micro SD port location:

Step 4: Locating the BOOT button
Locate the BOOT button on the central control unit:

Step 5: Launch the update
To launch the update from the Micro SD card:
- Hold the BOOT button.
- While holding the button, turn the Q3 MCB on.
- Release the button when 5 consecutive beeps are heard.
- The update will start immediately and will take around 5 minutes.
Step 6: Finishing up
A continuous beep will indicate that the update is done.
At that point:
- Turn the Q3 MCB off.
- Take out the Micro SD card
- Calibrate the touchscreen once charger is booted. Calibrating instructions can be found here.
Configuring the Charger:
- Follow the Configuration Guide to set the charger settings accordingly.
- Note, that the time of the system might be reset. If it's going to be used online, the Charger will receive the current time from OCPP platform while establishing the connection
DLM:
- Follow the Single Charger DLM Guide
- Make sure the metering equipment and communication cables are connected correctly according to the diagrams
Was this article helpful?
That’s Great!
Thank you for your feedback
Sorry! We couldn't be helpful
Thank you for your feedback
Feedback sent
We appreciate your effort and will try to fix the article