This guide walks you through installing the MEV0004R7021STD cable reel: mounting it, preloading the return spring, fitting the charging cable, and positioning the guide arm so the cable feeds and retracts correctly.
Table of contents
1. Before you begin
2. Step 1 – Mount the reel
3. Step 2 – Preload the spring and install the cable
4. Step 3 – Position the guide arm and rubber stop
5. Step 4 – Test the installation
6. Maintenance tips
⚠️ THE RETURN SPRING IS FRAGILE — READ BEFORE YOU START
The reel is fitted with a return spring under tension. The spring will break if the reel is installed incorrectly, or if the spool is spun freely by hand instead of being turned in a controlled way against the lock. Always keep the spool locked while you work, turn the reel only in the direction of the arrow on the housing, follow the turn count given in Step 2, and never let go of the spool or the cable while tension is on it. Wear protective gloves. The factory label on the unit states this directly: "Do not turn in reverse by hand!"
1. Before you begin
Unpack the reel and check it against the parts list for shipping damage or missing parts. Confirm the mounting surface can support the reel's weight, and check the specifications below before you start.
| Weight (incl. cable) | 28 – 30 kg |
| Rated input voltage | 500 V DC / AC, 50/60 Hz |
| Rated input current | Max. 35 A |
| Degree of protection | IP41 |
| Max. installation height | 4 m above floor level |
When choosing the mounting location, keep in mind that the cable's lifespan can be shortened by exposure to chemicals, strong UV light, or heat radiation. Avoid mounting in direct sun or near heat sources if possible.2. Step 1 – Mount the reel
1. Take the reel out of its packaging and inspect it for damage. Confirm all parts are present before continuing.
2. Choose the mounting location — floor, wall, or ceiling. Stay within the maximum installation height of 4 m above floor level.
3. Fix the reel to the selected location using the four mounting screws provided.
3. Step 2 – Preload the spring and install the cable
WARNING! Risk of personal injury — wear protective gloves. Never spin the spool freely by hand at any point in this step. Keep the spool locked or firmly held except when you are deliberately turning it in the direction of the arrow, and never turn it in reverse by hand.Preload the return spring first, while the spool is still empty, then fit the cable.
1. Turn the reel 15 full turns in the direction of the arrow marked on the housing, and only in that direction. This preloads the return spring. Keep the spool under control throughout — never let it spin back on its own.
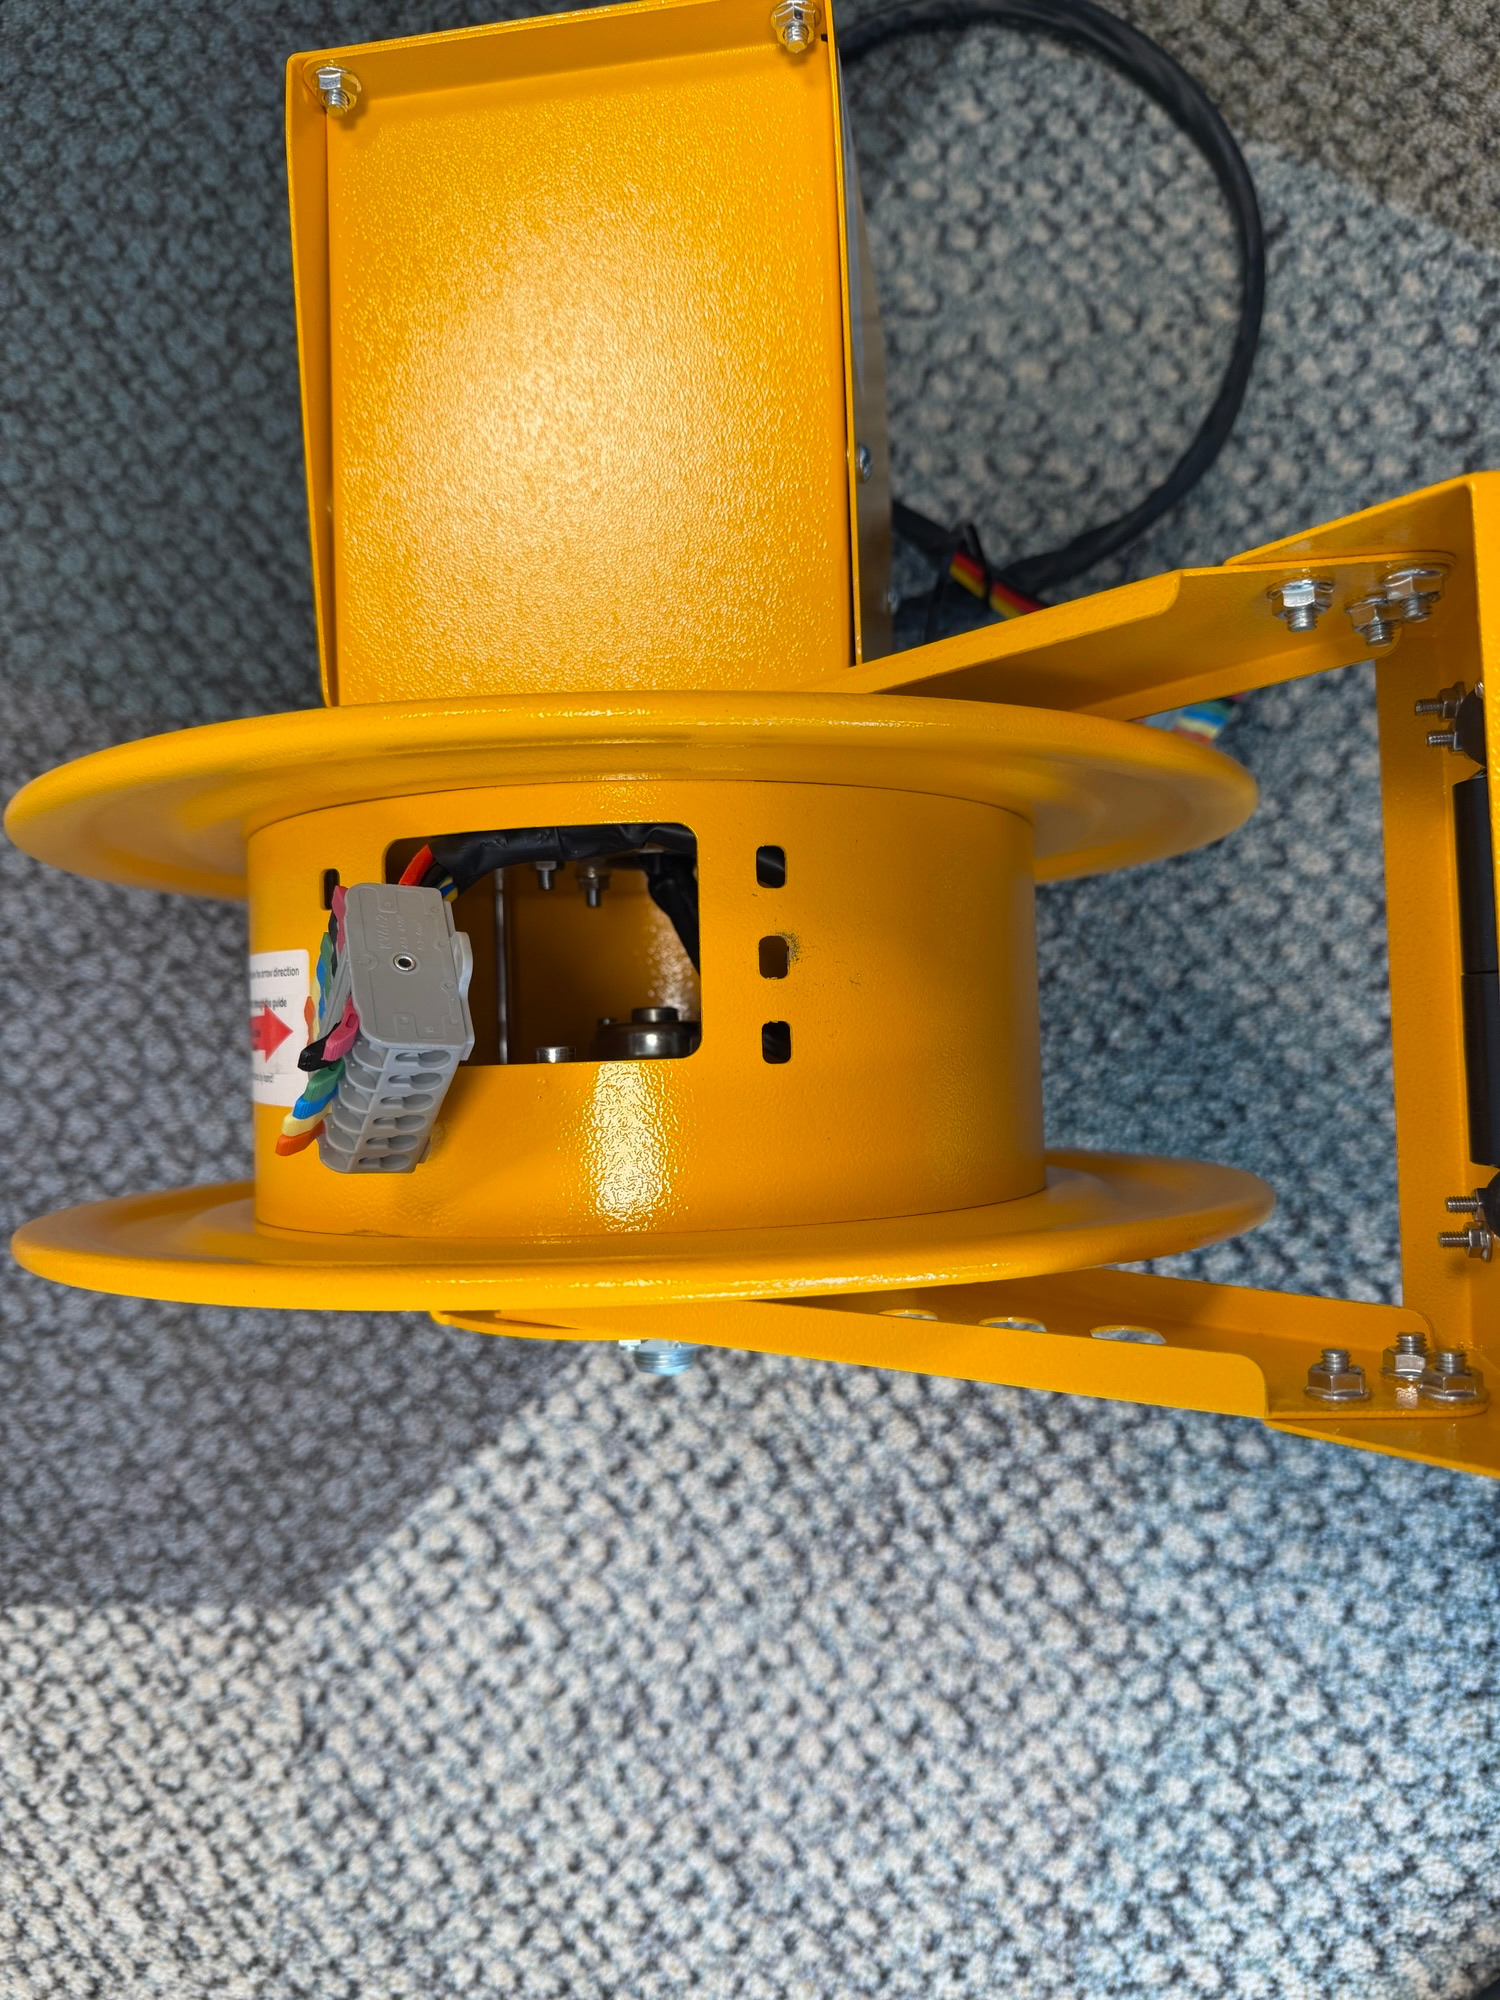
2. Engage the lock so the preload is held while you fit the cable.
3. Feed the charging cable in through the opening in the guide arm and pull it through the guide wheel.
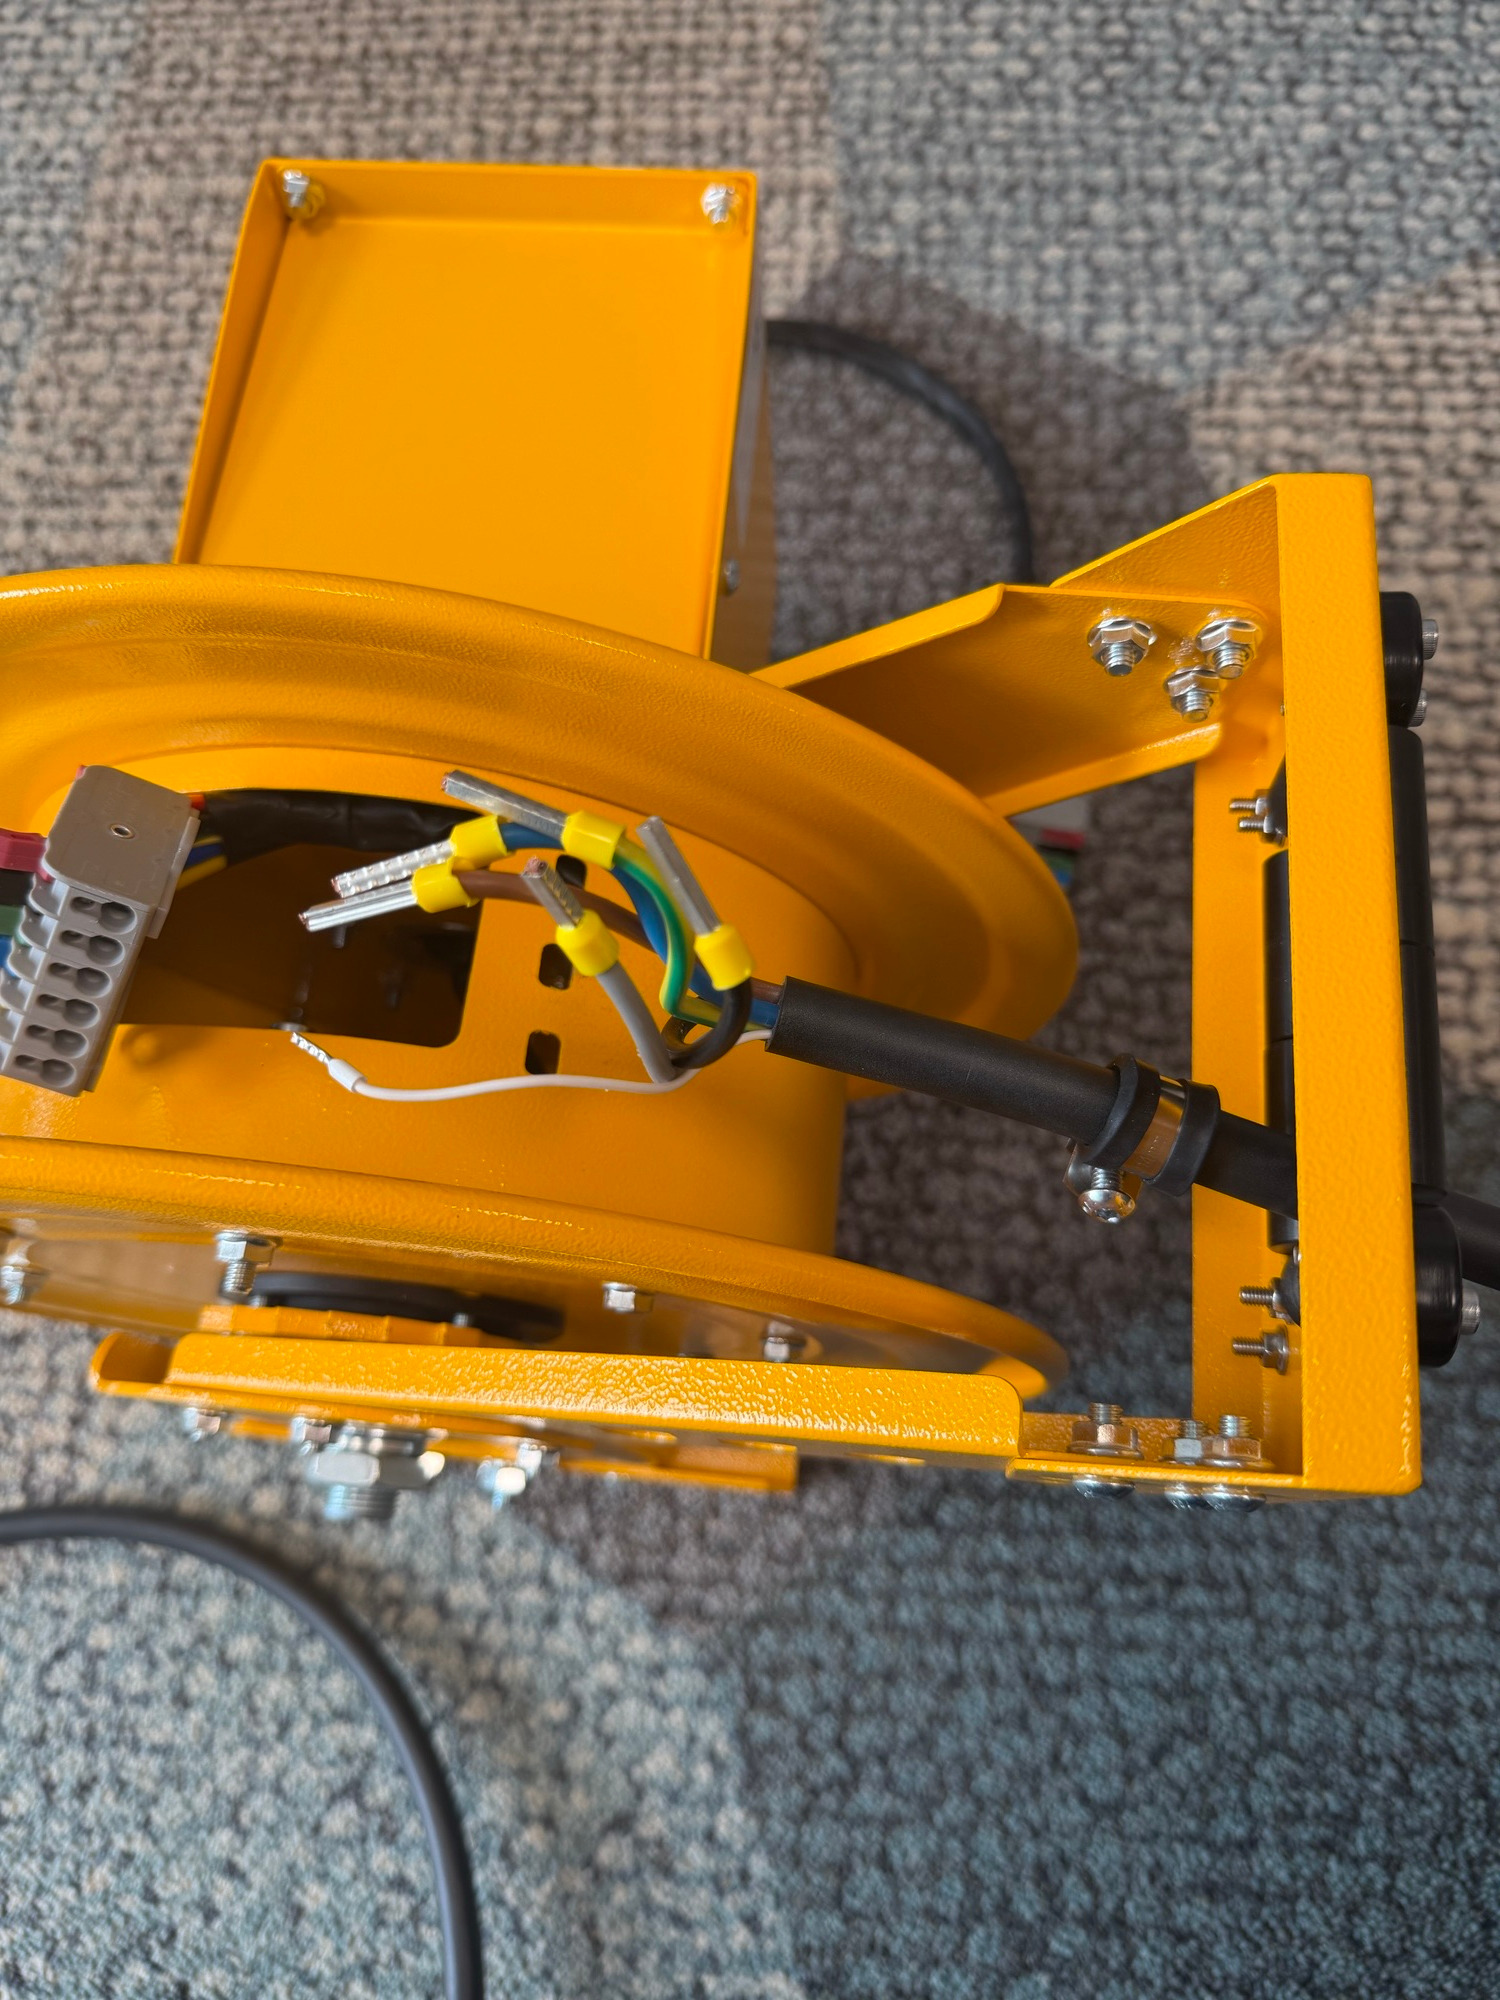
4. Connect and fix the cable at its termination point on the turntable, then tighten the coupling bolt.
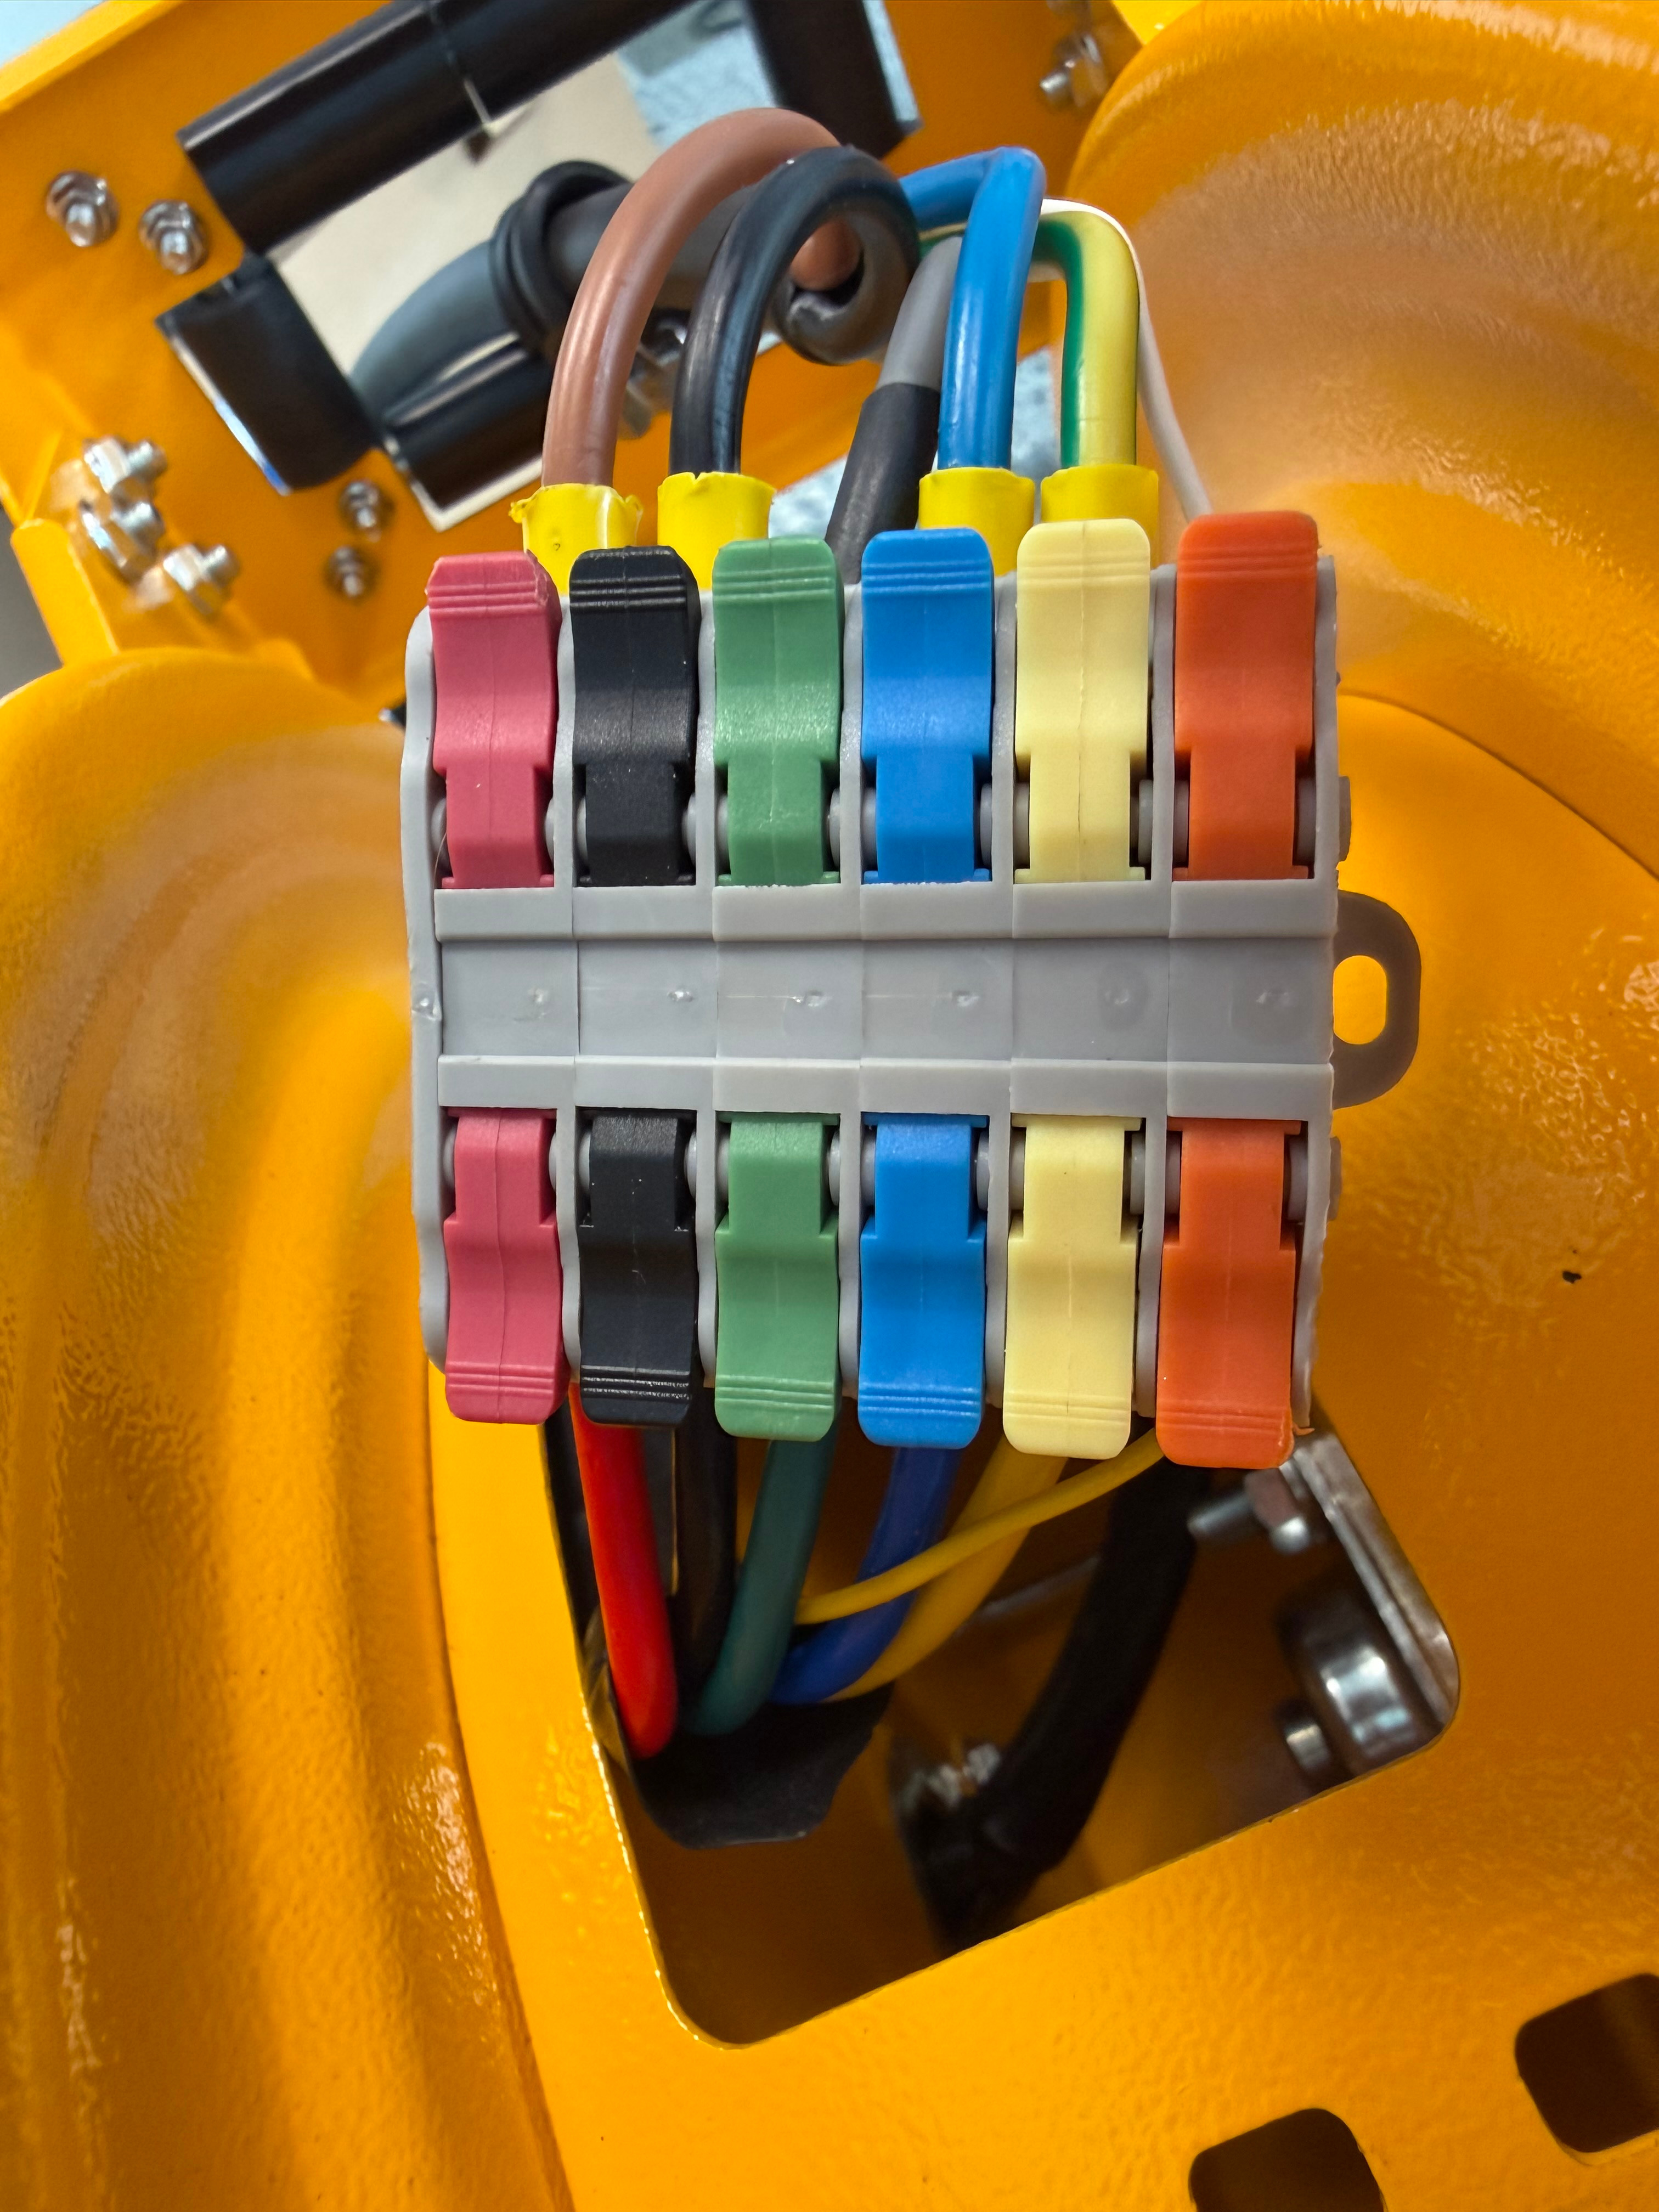
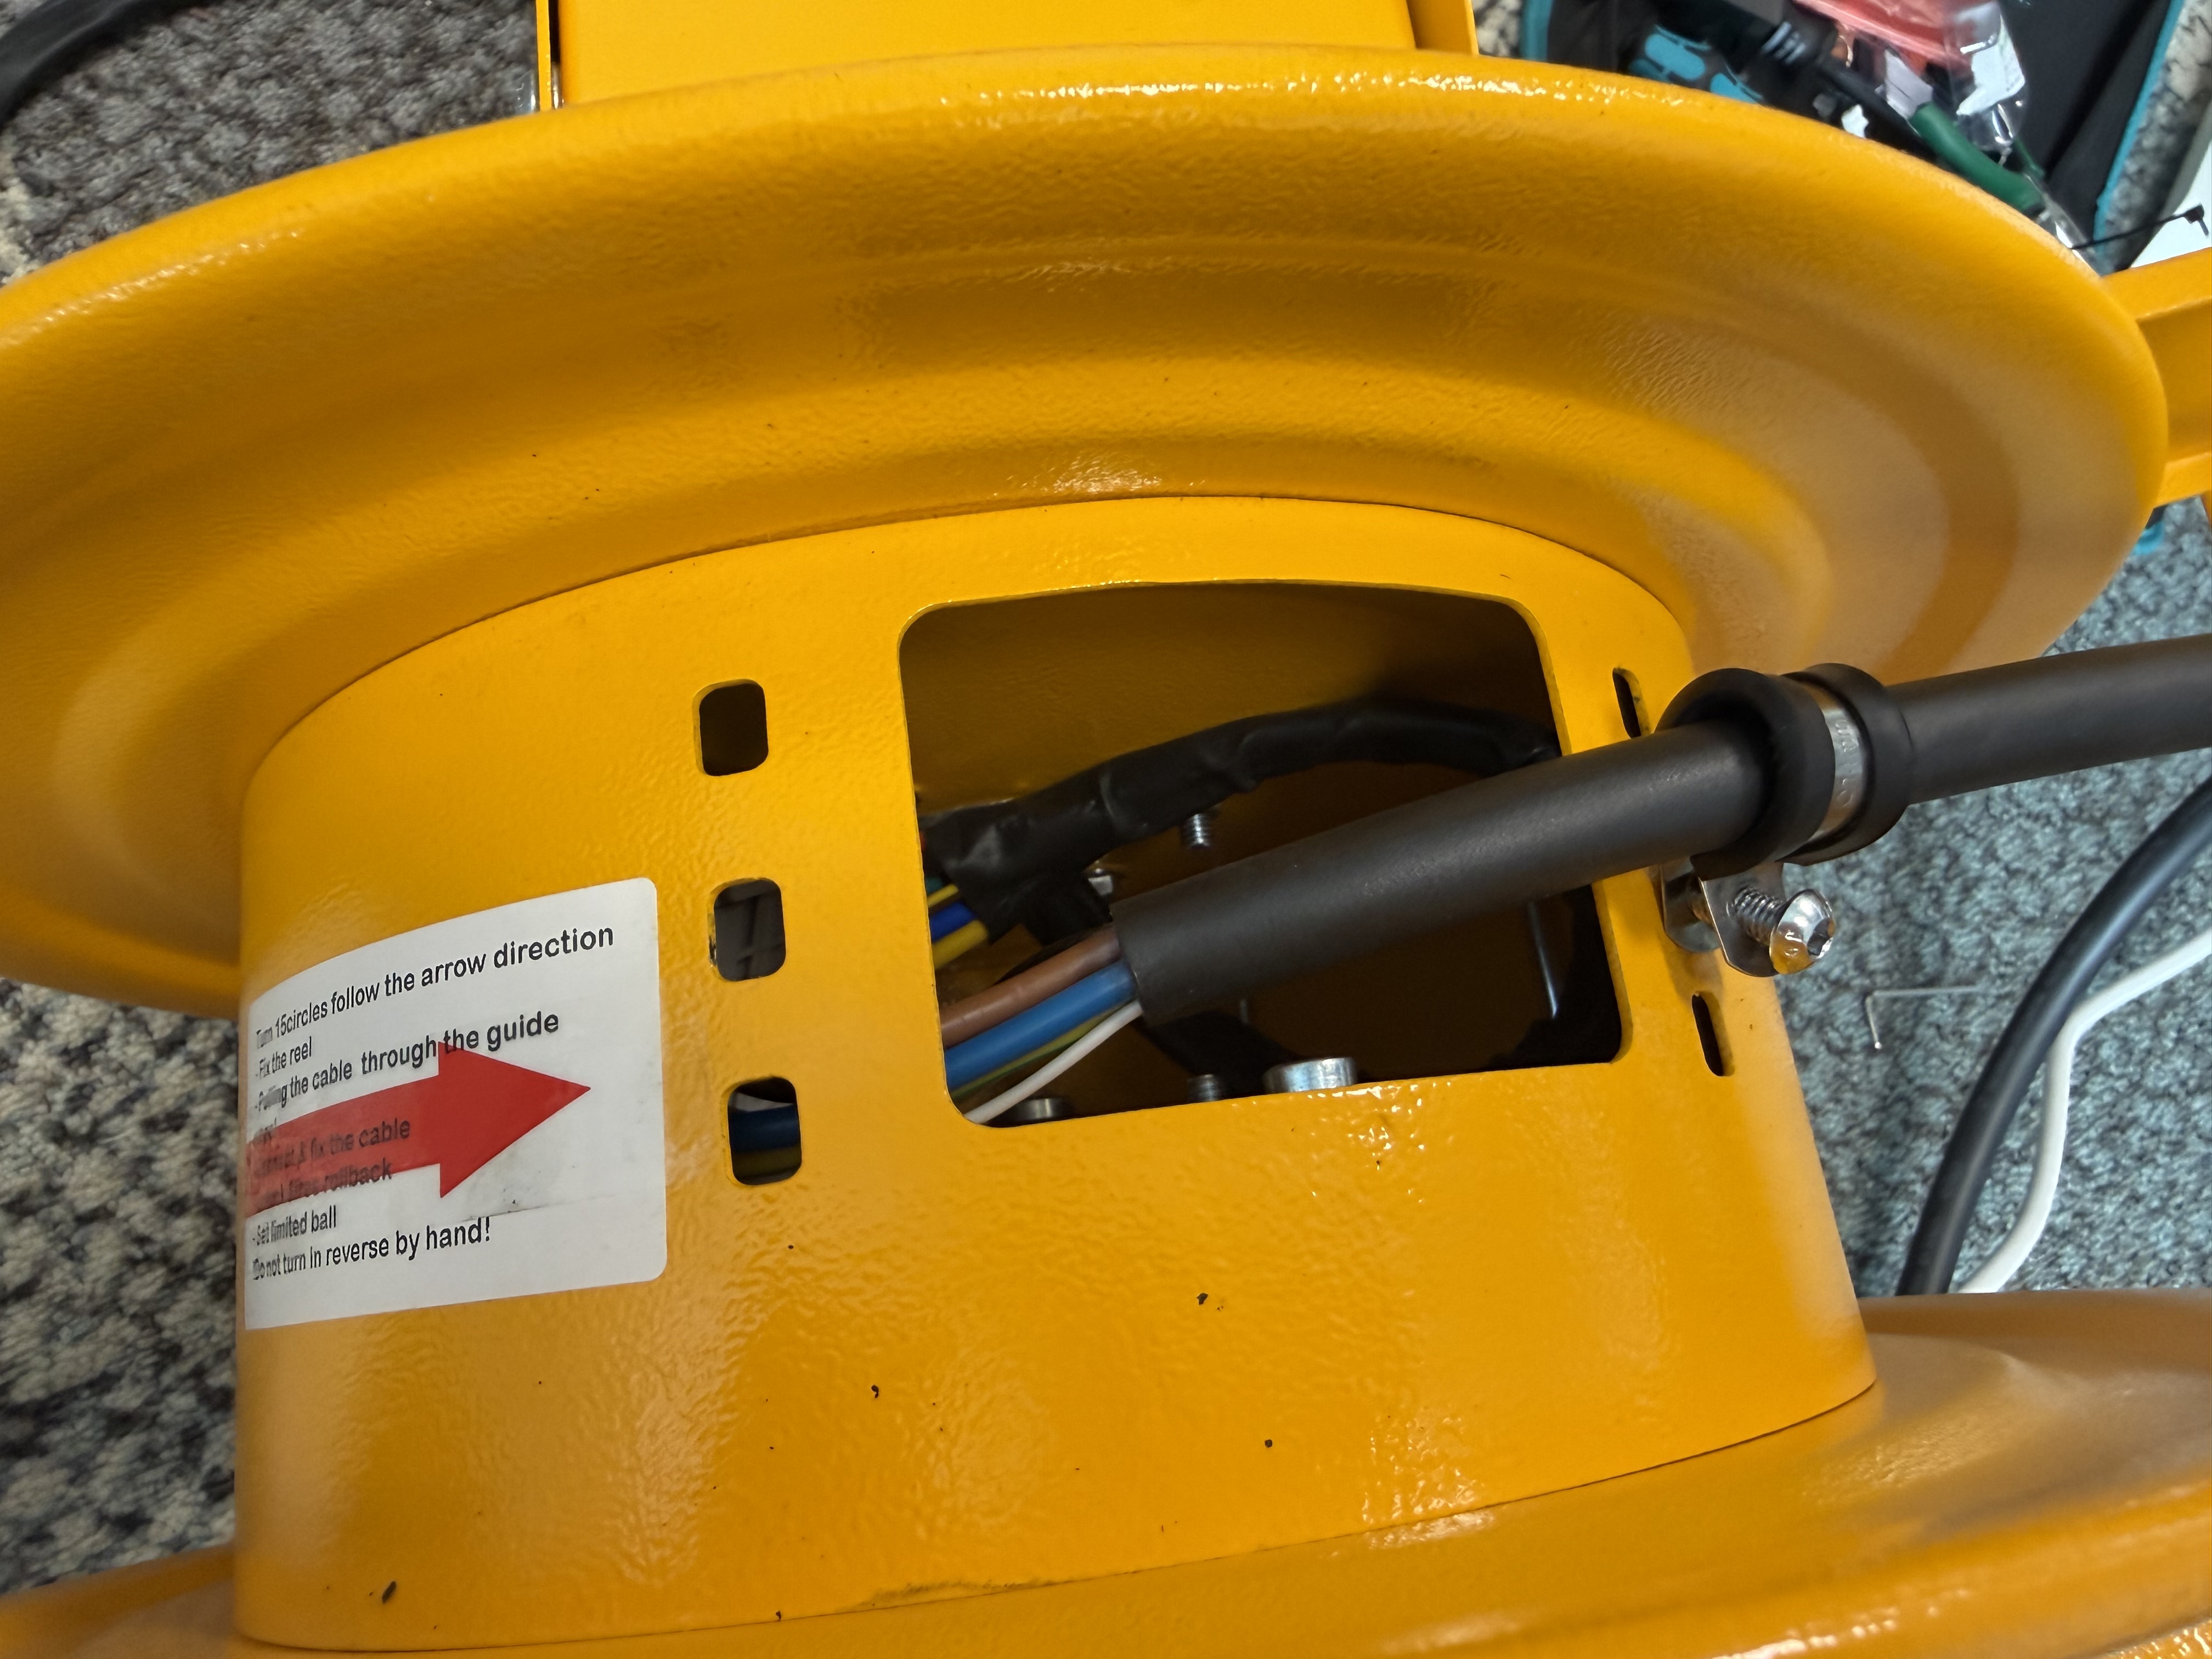
5. Push a short length of cable back into the reel so the slack at the termination is taken up.
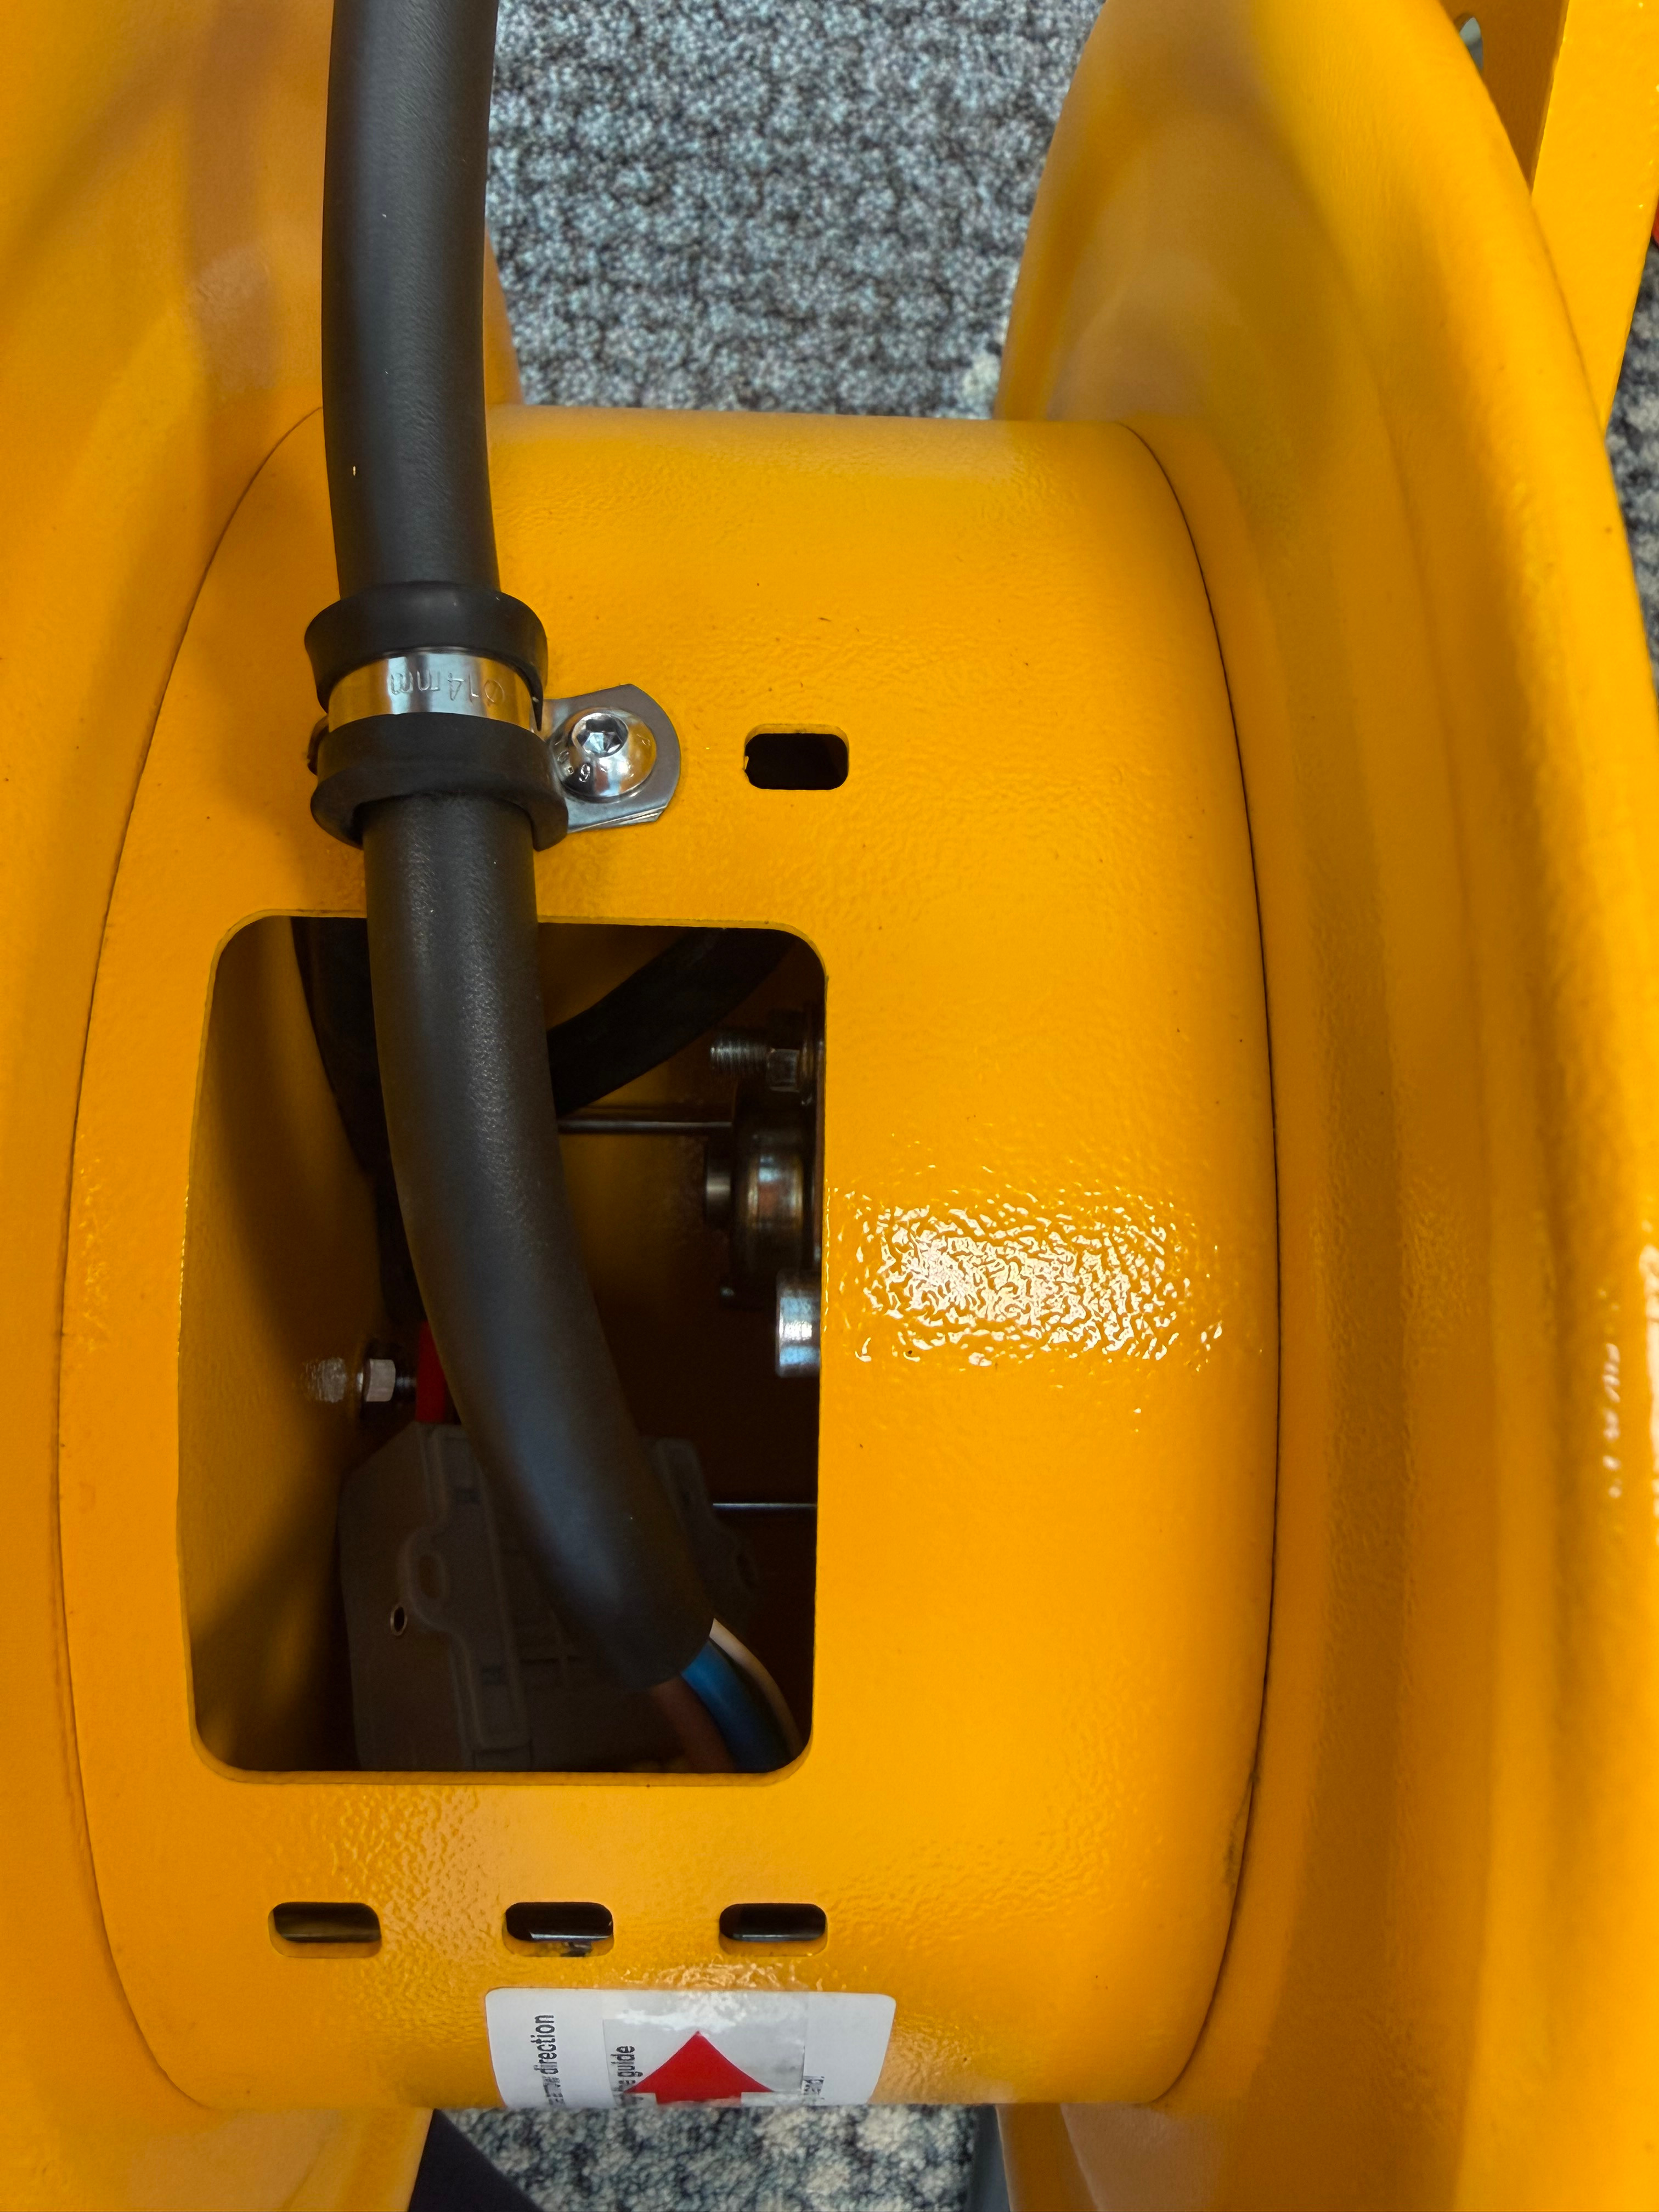
4. Step 3 – Position the guide arm and rubber stop
With the cable fitted, you'll usually need to adjust the rubber cable stop so the cable feeds correctly for your setup.
1. Pull out the cable until the lock engages.
2. Loosen the screws holding the two halves of the rubber cable stop together.
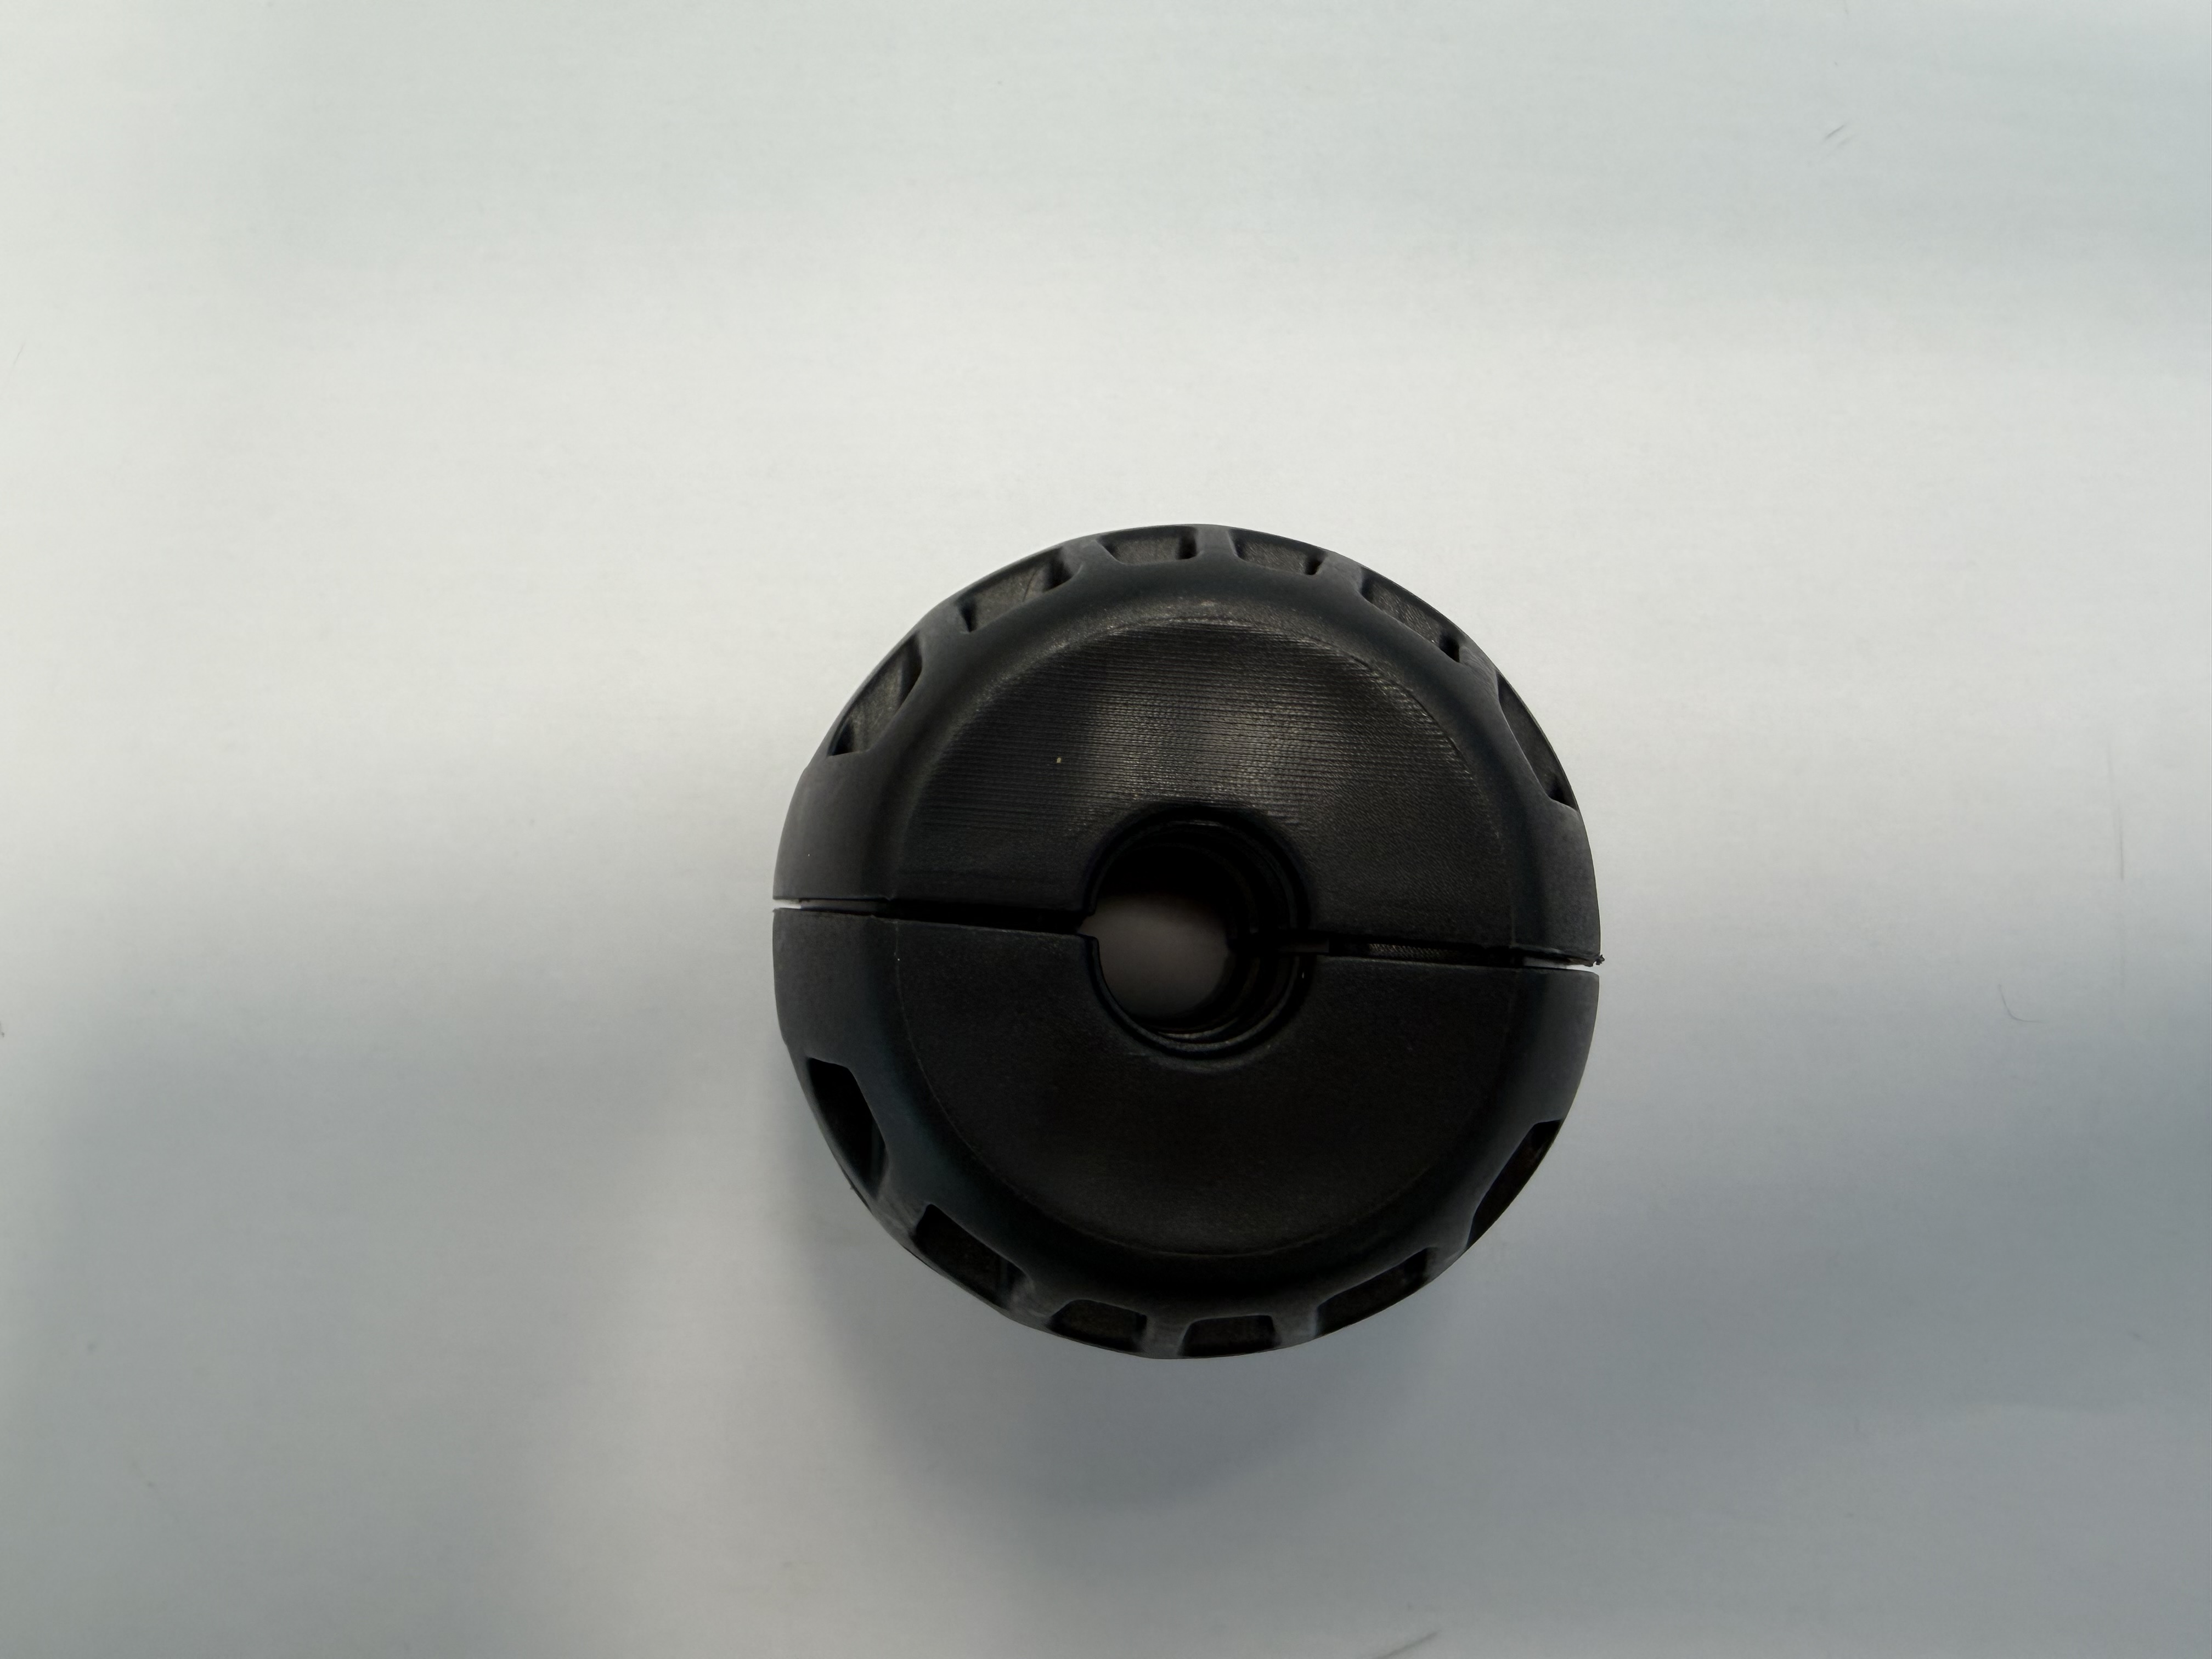
3. Slide the stop into the position you need and re-tighten the screws, then release the cable and disengage the brake.
5. Step 4 – Test the installation
1. Slowly pull the cable out and check that the spool runs smoothly. You should hear a click each time the reel locks off.
2. To lock the reel at a given length, pull the cable out slightly and let it retract for about one second, or until you hear the click.
3. To unlock, pull the cable until the clicking stops — the reel is then free to retract.
4. Always keep hold of the cable while it retracts, so it cannot snap back uncontrolled and damage the reel.
6. Maintenance tips
Periodically check the condition of the cable, the swivel, and the reel body. Replace any part that is worn, damaged, or leaking.
Was this article helpful?
That’s Great!
Thank you for your feedback
Sorry! We couldn't be helpful
Thank you for your feedback
Feedback sent
We appreciate your effort and will try to fix the article